
What makes my faucet corroded? How do you fix a rusty faucet? How do I loosen a corroded faucet?
Let’s talk about faucets! They’re the unsung heroes of our kitchens and bathrooms, but they can sometimes give us trouble. In this guide, we’re going to break down four common faucet-related issues in a way that’s easy to understand.
We’ll start by exploring why faucets corrode and rust, move on to figuring out if your water is hard or soft, and then tackle fixing a rusty faucet. Finally, we’ll guide you through the steps to change to a newer faucet if you’re thinking about an upgrade. Ready to make your faucets shine?
Let’s dive in!
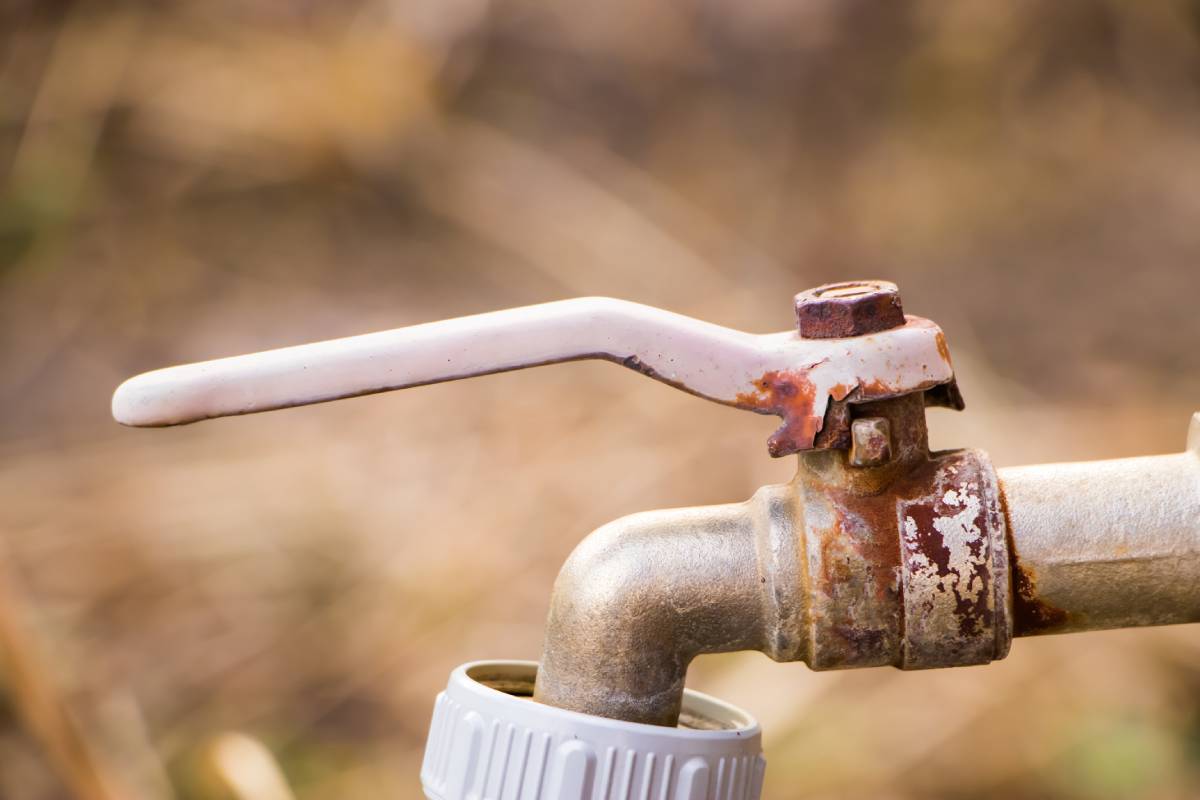
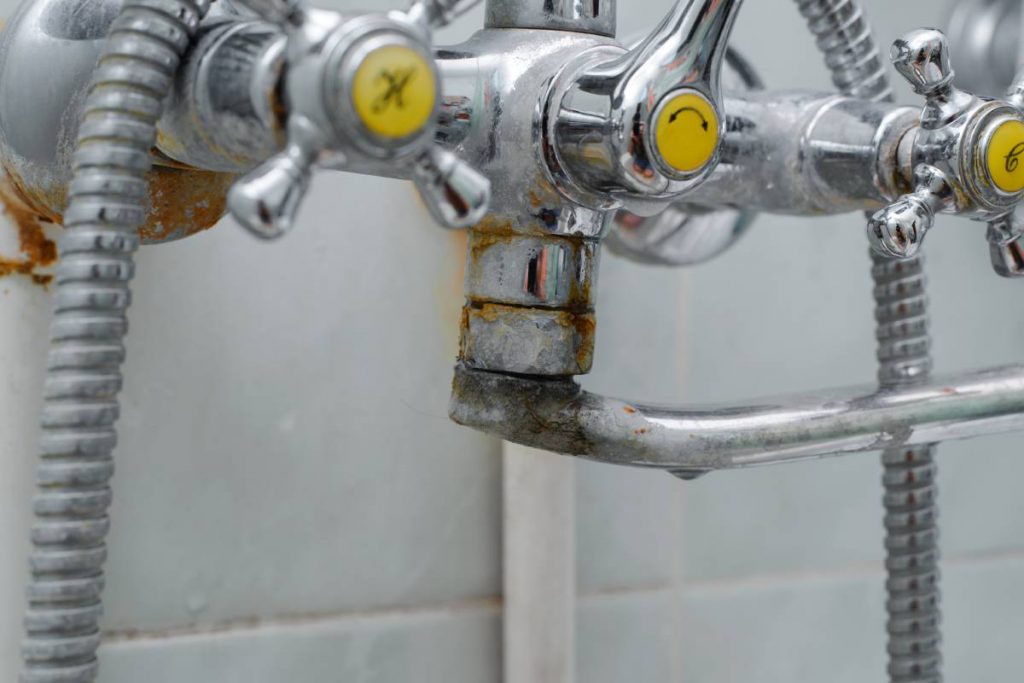
What makes my faucet corroded?
Corrosion in faucets can be caused by various factors. Here are some common reasons for faucet corrosion:
- Water Quality:
- High mineral content in water, especially if it’s hard water, can lead to mineral deposits and corrosion over time.
- The presence of corrosive elements like chloride or sulfur compounds in water can accelerate corrosion.
- Material Compatibility:
- If the faucet is made of materials that are not resistant to corrosion, such as certain types of metals or alloys, it may corrode more easily.
- Exposure to Chemicals:
- Harsh cleaning chemicals or abrasive cleaners can damage the protective finish on faucets, making them more susceptible to corrosion.
- Environmental Conditions:
- Exposure to extreme weather conditions, such as high humidity or salty air in coastal areas, can contribute to corrosion.
- Installation Issues:
- Poor installation or incorrect assembly of the faucet can create vulnerabilities that lead to corrosion. For example, improper sealing or fitting may allow water to accumulate in certain areas.
- Age and Wear:
- Over time, faucets can naturally wear out, and the protective coatings on their surfaces may deteriorate, making them more prone to corrosion.
- Electrochemical Reactions:
- If different metals are used in the construction of plumbing components, it can lead to galvanic corrosion when they come into contact with each other in the presence of water.
To prevent or minimize corrosion in faucets, consider the following:
- Install a water softener if you have hard water.
- Use non-abrasive, mild cleaners when cleaning faucets.
- Choose faucets made from corrosion-resistant materials.
- Regularly inspect and maintain your faucets.
- Address any plumbing issues promptly.
How do I know if water in my house is hard or soft water?
According to this, hard water is water that contains calcium and magnesium over 120 mg/L which makes soap less effective and leaves scale on your dishes and plumbing, and soft water is less than 60 mg/L.
Determining whether the water in your house is hard or soft is relatively straightforward. You can use the following methods to assess the water hardness:
- Water Hardness Test Strips:
- Water hardness test strips are readily available and can be purchased at hardware stores or online. They usually come with simple instructions for use. You dip the strip in a sample of your tap water, and it will change colour to indicate the hardness level.
- Soap Test:
- Hard water tends to reduce the effectiveness of soap and detergents. If you notice that it’s challenging to create lather with soap, and there is scum or residue left on your skin, dishes, or shower surfaces, you may have hard water.
- Scale Buildup:
- Check for scale buildup on faucets, showerheads, and other plumbing fixtures. Hard water often leaves behind mineral deposits, commonly seen as white or chalky residue. If you observe such deposits, it’s an indication of hard water.
- Water Appliance Performance:
- Appliances like water heaters, dishwashers, and washing machines can be affected by hard water. A noticeable decrease in the efficiency and lifespan of these appliances may suggest the presence of hard water.
- Local Water Reports:
- Many water utilities provide annual water quality reports to customers. These reports often include information about water hardness. Contact your local water utility or check their website for such reports.
- Professional Water Testing:
- If you want a comprehensive analysis of your water quality, consider hiring a professional water testing service. They can provide detailed information about various aspects of water composition, including hardness.
Once you determine whether you have hard or soft water, you can take appropriate steps to address any issues related to water hardness. If your water is hard and causing problems, installing a water softener system is a common solution. Water softeners work by removing or reducing the mineral content, usually calcium and magnesium, in the water.
It’s important to note that while hard water may pose challenges such as scale buildup and reduced soap effectiveness, it is generally safe to drink. If you have concerns about the quality of your drinking water, you may want to explore water purification options or contact your local health department for guidance.
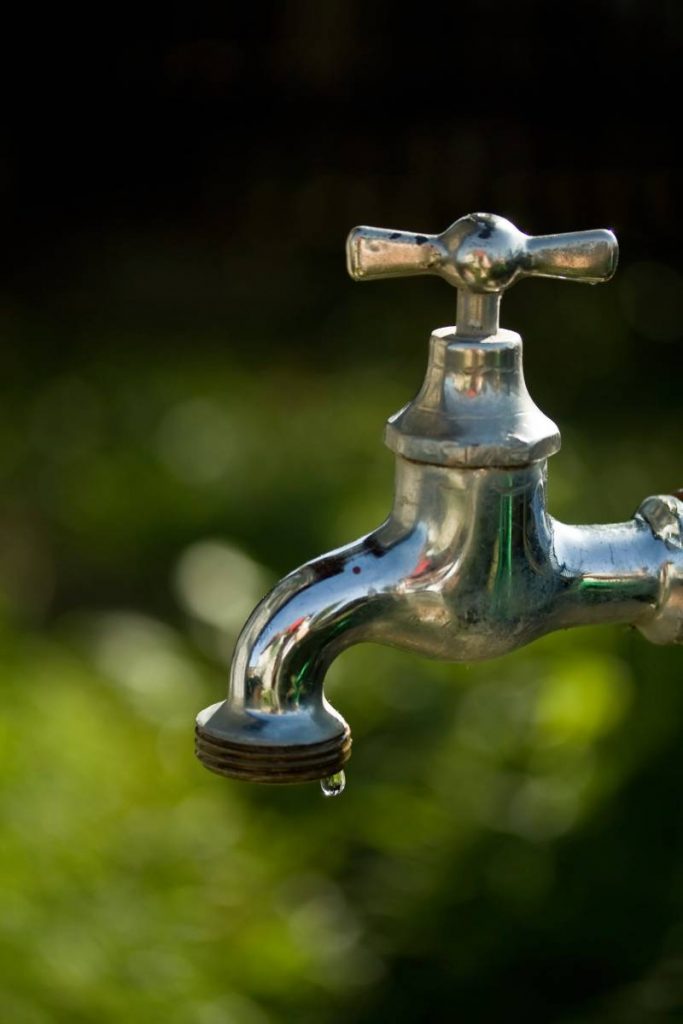
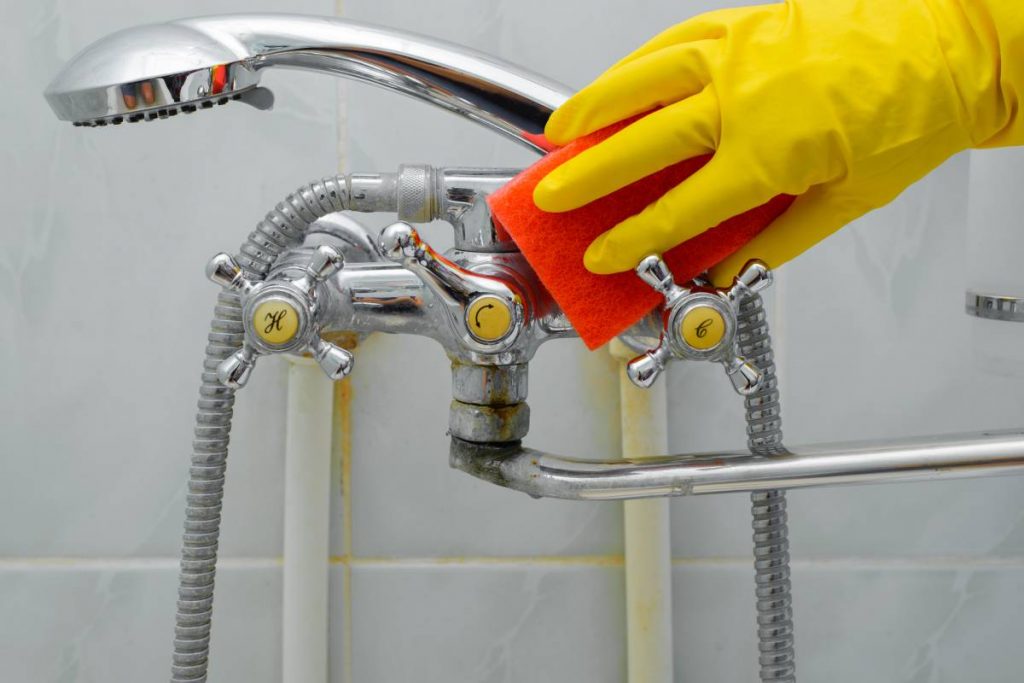
How do you fix a rusty faucet?
Fixing a rusty faucet involves removing the rust and protecting the metal to prevent future corrosion. Here’s a step-by-step guide to help you address a rusty faucet:
Materials Needed:
- White vinegar or lemon juice
- Baking soda
- Soft cloth or sponge
- A toothbrush or small brush
- Fine-grade steel wool or abrasive pad
- Rust converter (optional)
- Metal polish or wax
- Protective sealant or clear enamel spray
Steps:
- Remove the Faucet Aerator:
- Unscrew and remove the faucet aerator. This is the screen at the end of the faucet spout. Soak it in a mixture of white vinegar or lemon juice and water to remove any rust deposits.
- Create a Cleaning Paste:
- Mix baking soda with a small amount of water to create a paste. Apply the paste to the rusty areas of the faucet.
- Scrub with a Soft Cloth or Sponge:
- Gently scrub the rusted areas with a soft cloth or sponge. The baking soda acts as a mild abrasive that helps lift the rust.
- Use a Toothbrush or Small Brush:
- For hard-to-reach or intricate areas, use a toothbrush or a small brush to scrub away rust. Be gentle to avoid damaging the faucet finish.
- Steel Wool or Abrasive Pad (if necessary):
- If the rust persists, you can use fine-grade steel wool or an abrasive pad. Rub gently in the direction of the grain of the metal to avoid scratches.
- Rust Converter (if needed):
- If the rust is extensive, consider using a rust converter. Follow the product instructions for application. This helps convert the rust into a stable, protective layer.
- Rinse Thoroughly:
- Rinse the faucet thoroughly with water to remove any cleaning residue.
- Dry Completely:
- Ensure the faucet is completely dry before moving on to the next steps.
- Apply Metal Polish or Wax:
- Apply a metal polish or wax to the faucet to restore shine and protect the metal. Follow the product instructions for application.
- Seal with Protective Sealant or Clear Enamel:
- For an added layer of protection, consider using a protective sealant or clear enamel spray. This will help guard against future rusting.
- Reassemble the Faucet:
- Reassemble the faucet, including the aerator, and check for any leaks.
Maintenance Tips:
- Wipe down the faucet regularly to prevent water spots and mineral deposits.
- Avoid using abrasive cleaners or pads that can scratch the faucet’s finish.
- Fix any leaks promptly to prevent water exposure to the metal.
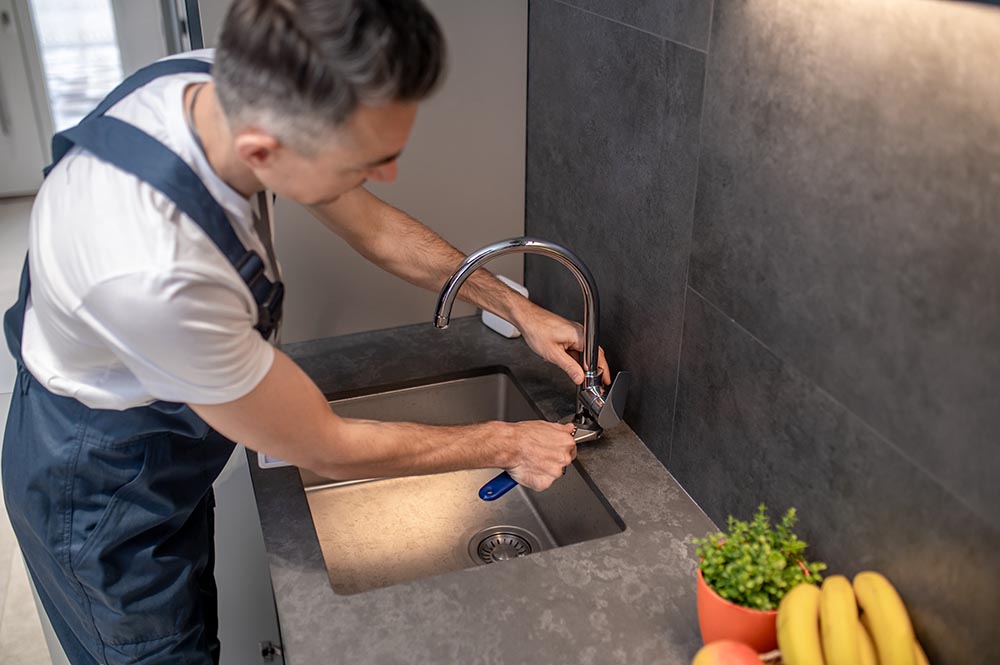
How do I loosen a corroded faucet to change to a newer one?
Loosening a corroded faucet can be a bit challenging, but with some patience and the right tools, you can often successfully remove it. Here’s a step-by-step guide to help you loosen a corroded faucet:
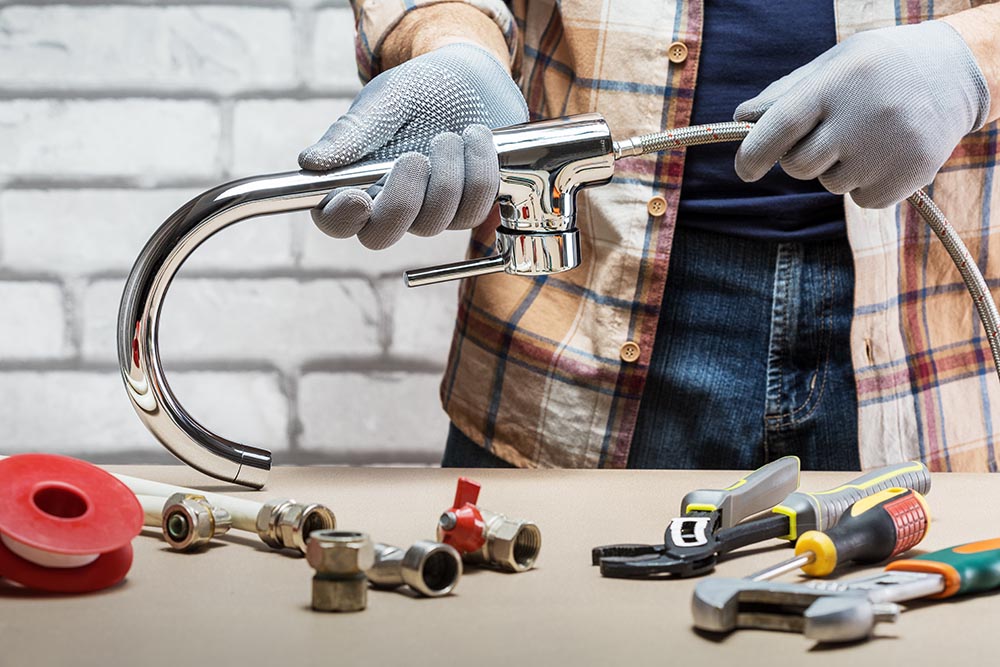
Materials and Tools Needed:
- Adjustable wrench or pipe wrench
- Plumber’s tape or penetrating oil
- Plunger
- Bucket or towel
- Plastic container or bag
- Teflon tape (for reinstallation)
Steps:
- Turn Off Water Supply:
- Before you start, turn off the water supply to the faucet. This is usually done by closing the shut-off valves located under the sink.
- Prepare the Area:
- Place a bucket or towel under the sink to catch any water that may leak during the process.
- Use an Adjustable Wrench or Pipe Wrench:
- Use an adjustable wrench or pipe wrench to grip the faucet or the nut holding the faucet in place. Apply steady, even pressure to try to turn the faucet counterclockwise to loosen it.
- Apply Penetrating Oil or Plumber’s Tape:
- If the faucet is stubborn and corroded, apply a penetrating oil or plumber’s tape to the threads. Allow it to sit for at least 15-30 minutes to help break down corrosion and make it easier to turn.
- Try Plunging:
- Fill the sink with a small amount of water and use a plunger to create suction around the faucet. This can help break the bond between the faucet and the sink due to corrosion. Plunge while simultaneously trying to turn the faucet.
- Use Heat (if necessary):
- In extreme cases, you can use a hairdryer or heat gun to apply heat to the corroded area. Heat can help expand the metal and loosen the corrosion. Be cautious not to overheat or damage other components.
- Tap with a Hammer (if necessary):
- Gently tap the corroded area with a hammer. The vibrations can sometimes help break the bond between the faucet and the sink.
- Protect Surrounding Areas:
- Cover the faucet with a plastic container or bag to protect the finish during the process.
- Continue Turning:
- Using the wrench, continue to turn the faucet counterclockwise. If it starts to loosen, you can switch to turning it by hand.
- Remove the Faucet:
- Once the faucet is sufficiently loosened, carefully remove it from the sink.
- Clean and Prepare for New Faucet:
- Clean the area where the old faucet was installed. Check for any remaining corrosion or debris. Apply Teflon tape to the threads of the new faucet for a smooth installation.
Tips:
- Patience is Key: Take your time and apply gentle, consistent pressure. Rushing can lead to damage.
- Safety First: Always turn off the water supply before attempting to remove the faucet.
If you encounter significant difficulties or are unsure about the process, consider seeking the assistance of a professional plumber. They have the experience and tools to handle challenging situations.
Conclusion:
And that’s a wrap-on faucet care! We’ve covered everything from understanding why faucets act up to fixing rust issues and even upgrading to a newer model.
So, the next time you face a corroded or rusty faucet, or you’re just thinking about an upgrade, remember these easy-to-follow tips. With a bit of care, your faucets will keep flowing smoothly, adding both functionality and style to your home. Happy fixing!